Ball and Airplane Play
Today we highlight some activities with balls. The first is especially designed for infants and promotes social connection and emotional development. Then we have a lesson for the big kids about the forces that act on a moving object including lift, thrust, and drag. We'll play ball, talk about the aerodynamics of golf balls, build a paper airplane together, and read a story about lift.
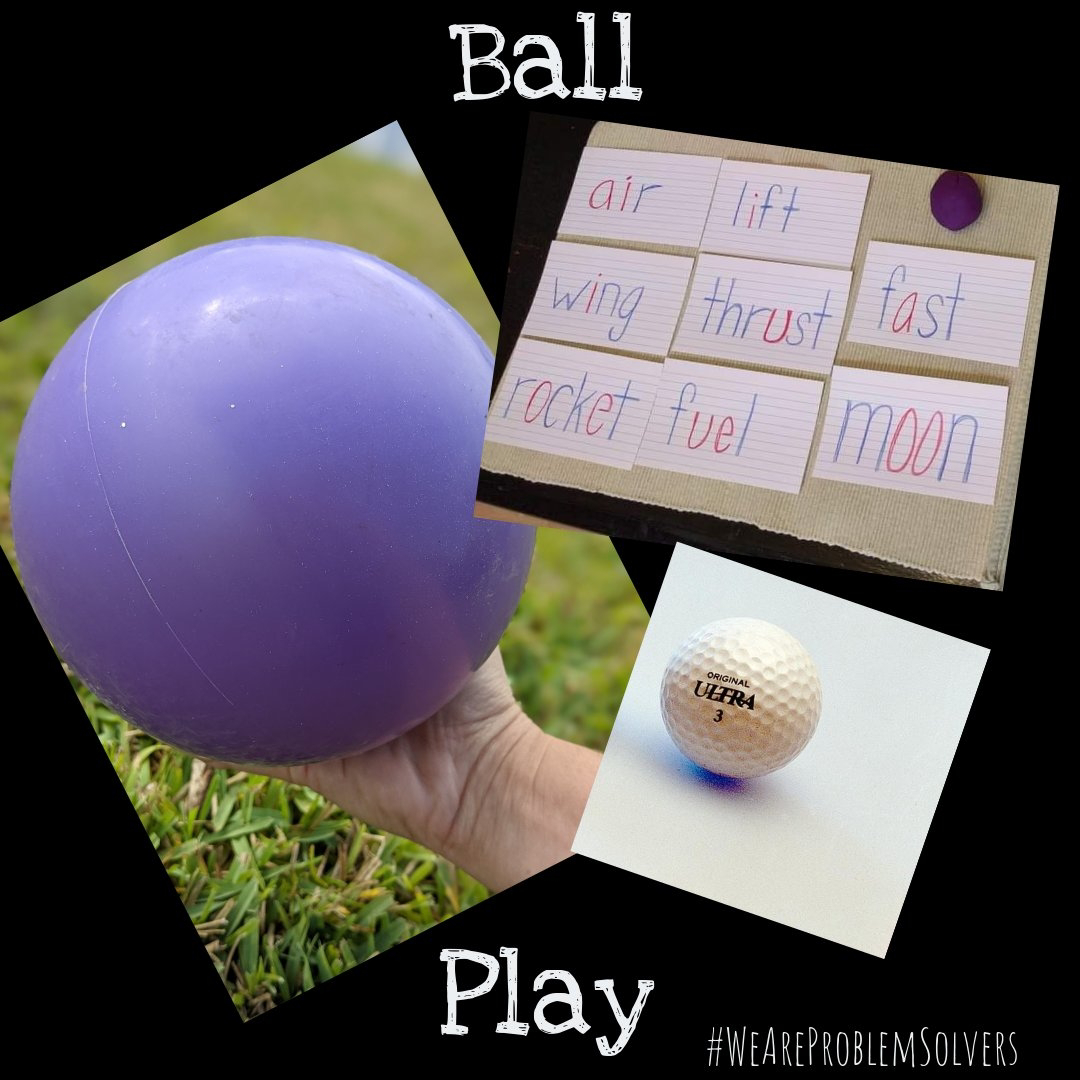
Here's an introductory picture to our lesson. It contains the words "Ball Play" with a picture of a big purple ball, a golf ball, a small purple ball made of Play-Doh beside cards with words that we learn in this lesson.
Infant Ball Play: Out of Sight
Object permanenceObject permanence is a critical developmental stage that begins around 3 months for many babies. Before then, objects that disappear simply cease to exist. By a year old most babies will have developed object permanence.
Practicing
Part 1: Rolling
Roll a ball to baby. Roll it back to you. Back and forth. Sing, "rolling rolling rolling, keep that ball just rolling" (to the tune of Rawhide).
Part 2: Tossing
"Tossing tossing, keep that ball up tossing." Toss it gently to the baby's mat. Pick it up and toss it again. Place it in baby's hand and applaud them for any attempt to move it.
Part 3: Hiding
When rolling or tossing, let the ball hide behind your back.
"Hiding hiding hiding, where is that ball hiding?" Here it is! Giggle and laugh and share the ball back with Baby.
Emotional Impact
When you play games that revolve around object permanence, you help them to feel less anxious about losing an item. You help the child to develop confidence that they can find an item themselves.
For the big kids:
NASA-inspired balls!
Did you know that NASA aerodynamics research inspired golf ball design? Here is a photo of three white golf balls with different dimple patterns.
Here's what the NASA image gallery has to say about these balls (edited a little for this audience).
Ultra 500 Series golf balls by Wilson Sporting Goods Company, has 500 dimples arranged in a pattern of 60 spherical triangles.
The design employs NASA's aerodynamics technology analysis of air loads of the tank and Shuttle orbiter that was performed under the Space Shuttle External Tank program.
The dimples are in three sizes, shapes and depths. These are mathematically positioned for the best effect. The selection of dimples and their placement optimizes the interaction of the opposing forces of lift and drag.
1) Large dimples reduce air drag, enhance lift, and maintain spin for distance.
2) Small dimples prevent excessive lift that destabilizes the ball flight.
3) Medium size dimples blend the other two.
What are lift and drag?
Lift is the force opposite gravity. Drag is the force opposite thrust. Here is an image that shows the different forces that act on an airplane when flying. There are arrows for each force. At the nose of the plane we see thrust, moving the airplane forward. Above the airplane we see lift, which keeps it in the air. Under the airplane we see a downward arrow indicating the force of gravity pulling the plane down. Behind the plane we see an arrow pointing backwards, indicating drag. This image came from an education website at NASA Glenn. Here's a link. https://www.grc.nasa.gov/www/k-12/UEET/StudentSite/dynamicsofflight.html#forces
When we throw a ball and a paper airplane, the forces that act on it are the same!
Do you want to learn how to build a paper airplane from a kid? Here's a video we made for you:
Now explain thrust and lift as you throw your paper airplane.
Storytime Activity!
Rocket Science for Babies
Here is a picture of the table we set up for this activity. There are flash cards for the words we want to read in this book. There is a ball of Play-Doh set out for each child. There are cards with questions for them to answer about the book, and there is a pencil for them to write with.
Air
Lift
Wing
Thrust
Fast
Rocket
Fuel
Moon
This book by Chris Ferrie starts with a ball and ends with a rocket ship. It explains lift and thrust very clearly. Read the book Rocket Science for Babies with us! As you read or watch the video of us reading, you can pause and build each shape for yourself!
Here is a link to me reading the book.
Here's a link to a child reading the book:
Make each shape in the book with Play-Doh. Turn on a fan to blow air at each shape.
Handy Aerodynamics
You can also make the shapes with your hand in front of the fan, and to feel the difference in air flow between shapes and the different directions you can move them. Here's a photo that says "Handy Aerodynamics" with a picture of a hand in front of a fan, first in a ball then in different wong shapes, facing different directions. You can feel the air flow!
Now that you have experienced these forces yourself, it's time to think! Explain lift and thrust in your own words.
If you use this lesson, tell us how it goes!


Comments
Post a Comment