Baking Bread with Kids
Do you want to learn about yeast with a hands-on activity that you can eat? Let's cultivate yeast and bake some bread with kids.
"I love having a pet colony of yeast! It's so fun to take care of." - our 9 year old.
Starting a Starter
We started by feeding our starter. Then we made the dough. The next day we baked it. Along the way we made improvements. We'd like to show you all of our process. Let's start by mixing up the dough, following a recipe, and baking bread. If you want to learn how to capture and feed a yeast colony, scroll down to "Starting a Starter".
Dough
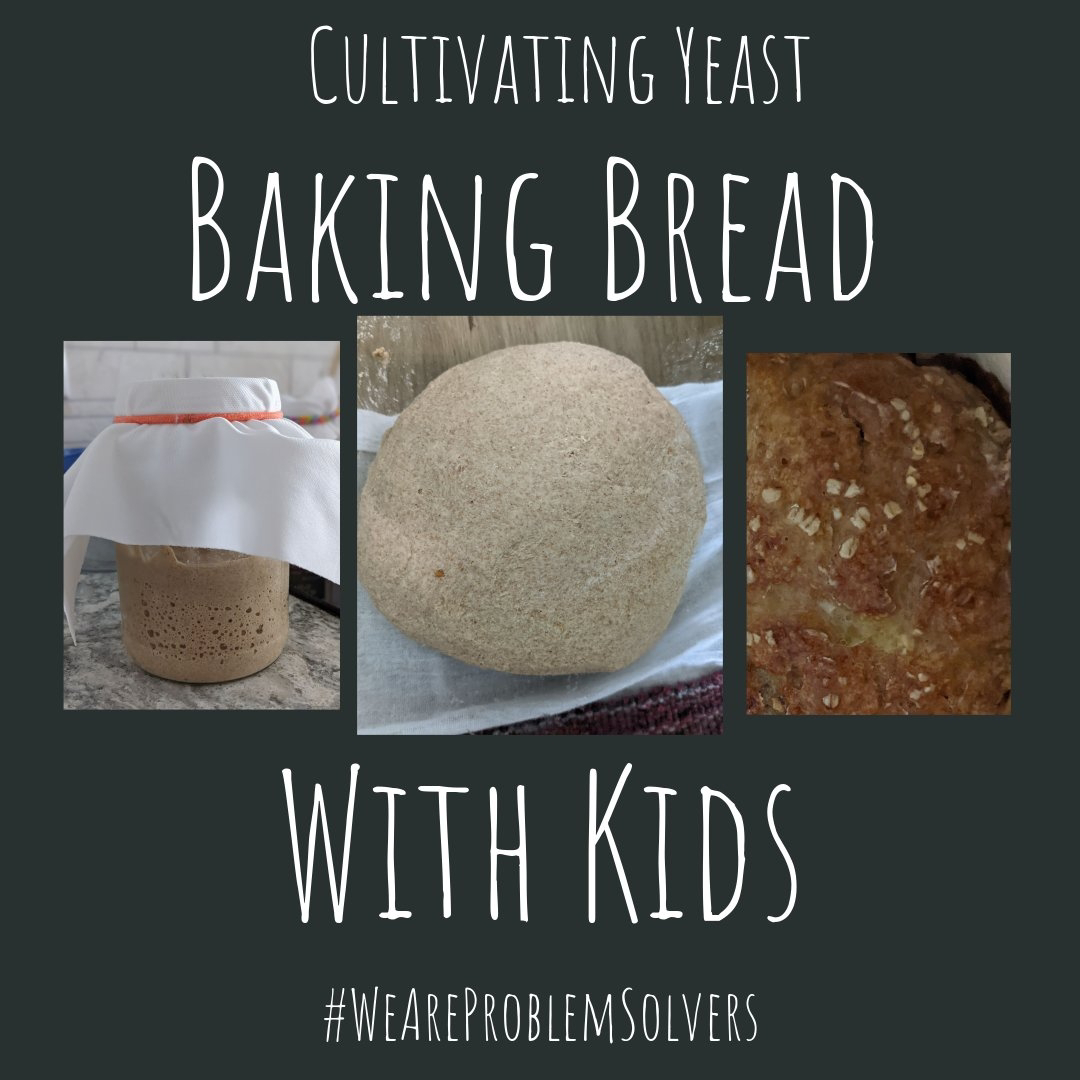
Once you have a sourdough starter, you can use it to make your own sourdough. Here is a picture of our completed dough ball.
Here are our ingredients:
Flour, water, starter, and salt. We followed a recipe and mixed these ingredients together in just the right amounts to make our dough. We made labels to go with each ingredient so we practiced reading.
Electric mixer with dough hook, 1 Cup measure, 1/3 Cup measure, 1 Tablespoon measure, wooden spoon (to spoon starter into the measuring cup), glass bowl, towel to cover the bowl. Later we chose to cover our bowl with plastic wrap instead. More on that later.
2 C Water
1 Cup Starter
1 Tablespoon Salt
Use the mixer to mix together all of the ingredients. We used our dough hook on low speed to stir everything up. Here is a picture of the kids working.
Note that we chose to work at a height that is comfortable for even our youngest child, so everyone could feel a part of things. We wore aprons to keep our clothes clean and put our hair up so it didn't get into the dough.
Here is another picture of a child working.You will want to add more flour if your dough ball is sticking to the edges of the bowl or your fingers. Yeast is alive so it can be unpredictable. If it is hungry the yeast will eat the flour (munch munch munch). When your dough feels firm and not too sticky, it's done! Move the dough ball into a bowl. Cover it with a wet towel or plastic wrap.
Here is our bowl with its wet towel.
If you want to slow the rising process down to bake another day, put it into the refrigerator. We chose to put it into a drawer in the refrigerator so it would be more humid. Here is a picture.
Let it Grow
Wait a few hours and up to 4 days before using your dough. After our second day we noticed a skin was forming on the dough because it was drying out too much - even though our towel was still wet. We kneeded our dough, found it was too sticky inside, so we added a bit of flour and kneeded some more. Our children loved kneeding.
We decided to cover it with plastic wrap instead of a towel from that point on, and that worked out well for us. Here's a photo of our daughter covering our bowl with plastic wrap.
The dough rose. A lot. We left ours out on the counter for a few hours on a warm and humid day. The dough grew so much that it overwhelmed the bowl. Here's a photo.
You may want a dusting of flour on your hands as you move the dough because it can be sticky. No kneeding needed for this recipe. But you're welcome to do some kneeding along the way like we did, if you'd like.
Baking our Sourdough Bread
Preheat the oven as hot as you can, slice the top of the dough, then bake at 450°F / 232°C. You may also want a pan of hot water in the oven as you bake. Humidity helps the loaf to grow. Depending on the size of your loaf, it can take up to an hour to bake.
Here's a picture of our bread when it came out of the oven.
Here is another photo when we cut into it. Those nice airy holes are made by the yeast!
Do you want to make a starter from scratch? Begin a starter by taking a cup of your favorite flour and adding a cup of water to it. Then leave it out in a warm place for up to a couple of weeks with a cloth cover over it. Stir it and add equal parts flour and water each morning. You will know that you have captured wild yeast when you notice bubbles in the mix. Here is a picture of a jar of a healthy starter. It has many bubbles. The jar is covered with a cloth which is held down by an elastic band. We also use glass or ceramic toppers for our jars sometimes.
Feeding a Starter
We like keeping our starter in a glass jar in a warm part of our kitchen. We add new flour and water to it every morning and night. If we don't plan to use our starter for a few days, we keep it in our refrigerator and take it out again to warm it up and feed it a few hours before we plan to use it. As our starter ages, it becomes more sour. Sometimes we add oat flour, whole wheat flour, or bulgar wheat flour to give it a more complex flavor. Every time you stir in flour and water, you feed the yeast. You should see lots of bubbles as you mix them in.
Here is a picture of our starter when it needs a feeding. We let it go a bit longer than usual so you can clearly see the separation of liquid in this photo. The liquid is called "Hooch". It is alcohol given off by the yeast during the fermentation process. When you see a line of hooch forming on top of the starter, you know it is time to feed.
Note: We like using glass jars and wooden spoons with our starter because we don't want to accidentally kill it. Copper, zinc, and silver are metals that will kill yeast.
What is Yeast?
This question came up when we were baking bread with Grandpa and Grandma.
Yeast is not bacteria. Yeast is not a plant. Yeast is a unicellular type of Fungus. Fungus are very different from all of these things. Yeast is more closely related to humans than bacteria!
Here is a beautiful graphic of the tree of life. Can you find fungi?
This picture comes from the Tree of Life Web website. Here is a link:
http://tolweb.org/tree/ you can click around this website and explore the diversity of life on Earth.
Yeast are a special kind of fungus that is unicellular. The scientific name for bread yeast is Saccharomyces cerevisiae.
Scientists Study Yeast
We found a great explanation about yeast, written by a professor who studies yeast in their lab. Here is a link:
Did you know that depending on how you prepare and bake your bread, you can have different species of yeast present? Here is a scientific paper that explores this trend with French sourdough. This is advanced reading.
Space Bread
Did you know that there are scientists working on baking bread in space? It's all part of the Deep Space Food Challenge. Learn more about Hope Hersh, the brilliant person behind this innovative bread baking technology here:
She even made a little video about it, which explains things really well. Here's a link.
Do you want to harvest your own yeast, and bake your own bread? We hope this inspires you to cultivate, create, and explore!


Comments
Post a Comment