How we consistently delivered water to plants on a spinning thing
Mu BOX information.
Written by Christina M. Johnson on 7/12/2024.
Creative commons license. Please acknowledge Jacob Torres, Christina M. Johnson, and Jonathan Gleason if you use any of this information for your research.
 Jacob Torres was the engineer behind the innovative design of our water delivery system.
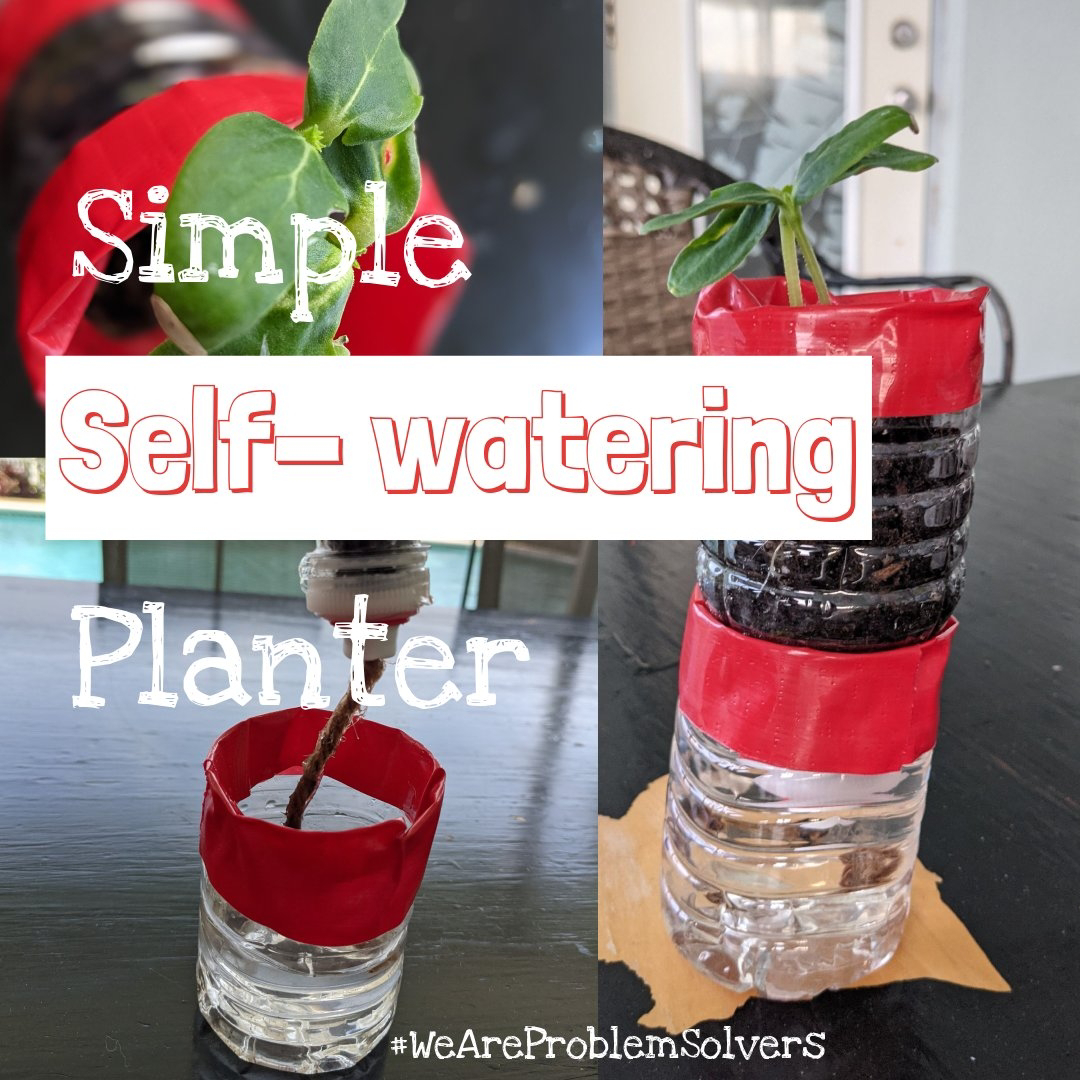
Water delivery to our plants was a very difficult problem to solve, as most configurations were delivering too much nutrient solution, and they dripped excessively. This had the potential to corrode or otherwise damage the Random Positioning Machine.
Jacob Torres was the engineer behind the innovative design of our water delivery system.
Water delivery to our plants was a very difficult problem to solve, as most configurations were delivering too much nutrient solution, and they dripped excessively. This had the potential to corrode or otherwise damage the Random Positioning Machine.
We are happy to give you tips on your work. Comment below or contact Christina at botanynerd@gmail.com if you plan to use our tech.
Here is a picture of the hardware that we used to grow microgreens in simulated microgravity. We called it the UGrow.
The holder that holds the lights was designed by our team, drawn in CAD and printed by Jonathan Gleason, and wired by Jacob.

This was an entirely passive irrigation system, involving wicks and mats, which were fed through a 3D printed shell.
There were some models of the box which contained a port and tube to add water manually while it was spinning during the experiment. This required a very specific valve system which allowed air to escape while filling.
Seeded Mat
The mat was a bamboo felt, produced by a company in New Jersey called VegBed. We also tried a hemp mat, but it flaked and water seemed to evaporate faster off of it. I liked the bamboo felt better. We seeded these mats in advance. I used a non-toxic clear Elmer's School Glue to glue each seed into place. The idea of using this specific glue came from Dr. Karl Hasenstein at the University of Louisiana.
Capillary Mat to Move Water
The water moved by capillary flow through the system. There were a lot of attempts and eventually some math to calculate the desired diameter and positioning of the wick to allow just the right amount of water to adequately wet the mat without saturation.
We used a capillary mat as a wick to move the water from the internal basin to the mat.


Seed Placement on Mats
We seeded the mats prior to installing them on the hardware, and affixed the seeds to the mat with a clear non-toxic Elmer’s brand school glue. The glue choice was important, as many types of glues we attempted to use either inhibited germination or did not hold our relatively large Daikon radish seeds in place.
Here is a picture of a couple of muBoxes, cleaned up, loaded with a seeded mat, and stored in a plastic zip top bag, ready to open and use. Note the spacing of our seeds. There are regular gaps between them to allow adequate airflow. The longest side of each muBox is approximately 10cm.
I liked preparing a few boxes at a time so it was easier to get started right away on the days we started a new experiment. We sprayed the seeded bamboo mat with a little nutrient solution as we loaded up the basin and installed the cover.
Watering
We filled the muBox with nutrient solution (1/2 strength Hoagland’s), and sealed it with clear FlexSeal tape prior to starting the experiment. Here is a picture of the Flex Seal tape on the side of the box. This one failed and all of the liquid fell out because there was a crease on the tape. I learned to be more careful about laying my tape and choosing a piece without a crease across the basin.
Jacob also made a 3D printed cover that we placed over the mats during the first 3 days of the experiment, to trap humidity and also press down the plants to the mat so the roots would be more likely to grow on / into the mat rather than growing upwards. That 3D printed cover was a very loose weave of a semi-transparent filament. We wanted the water droplets to be trapped but some airflow to pass through. Here is a photo that includes the cover.

Internal Structure
Another thing that we found critical was adding some bevels inside the hydroponic basin that was in the center of the muBox. Like a maze for the nutrient solution to move through. It stopped issues with sloshing.
Keeping the System Clean
We sanitized between experimental runs by soaking our hardware in hydrogen peroxide. The bamboo mats could be autoclaved and re-used (we did this a few times) but we decided to use a new bamboo mat each time for our actual experiment. This made it easier to lay down seeds. The capillary mats were not changed out between runs. The Hydrogen Peroxide soak did a good job of sanitizing those wicks so we didn’t get a biofilm buildup on the muBox. We always aired out the muBox in a sterile laminar flow bench for at least 12 hours after sanitizing before starting it up again. Once it was dry after the hydrogen peroxide soak, it was ready to use again.

Comments
Post a Comment