Rose Anatomy
"Every rose has its prickles."

Our friend Dr. Gioia Massa shared her goofy version of the old rock song when we visited her the other day.
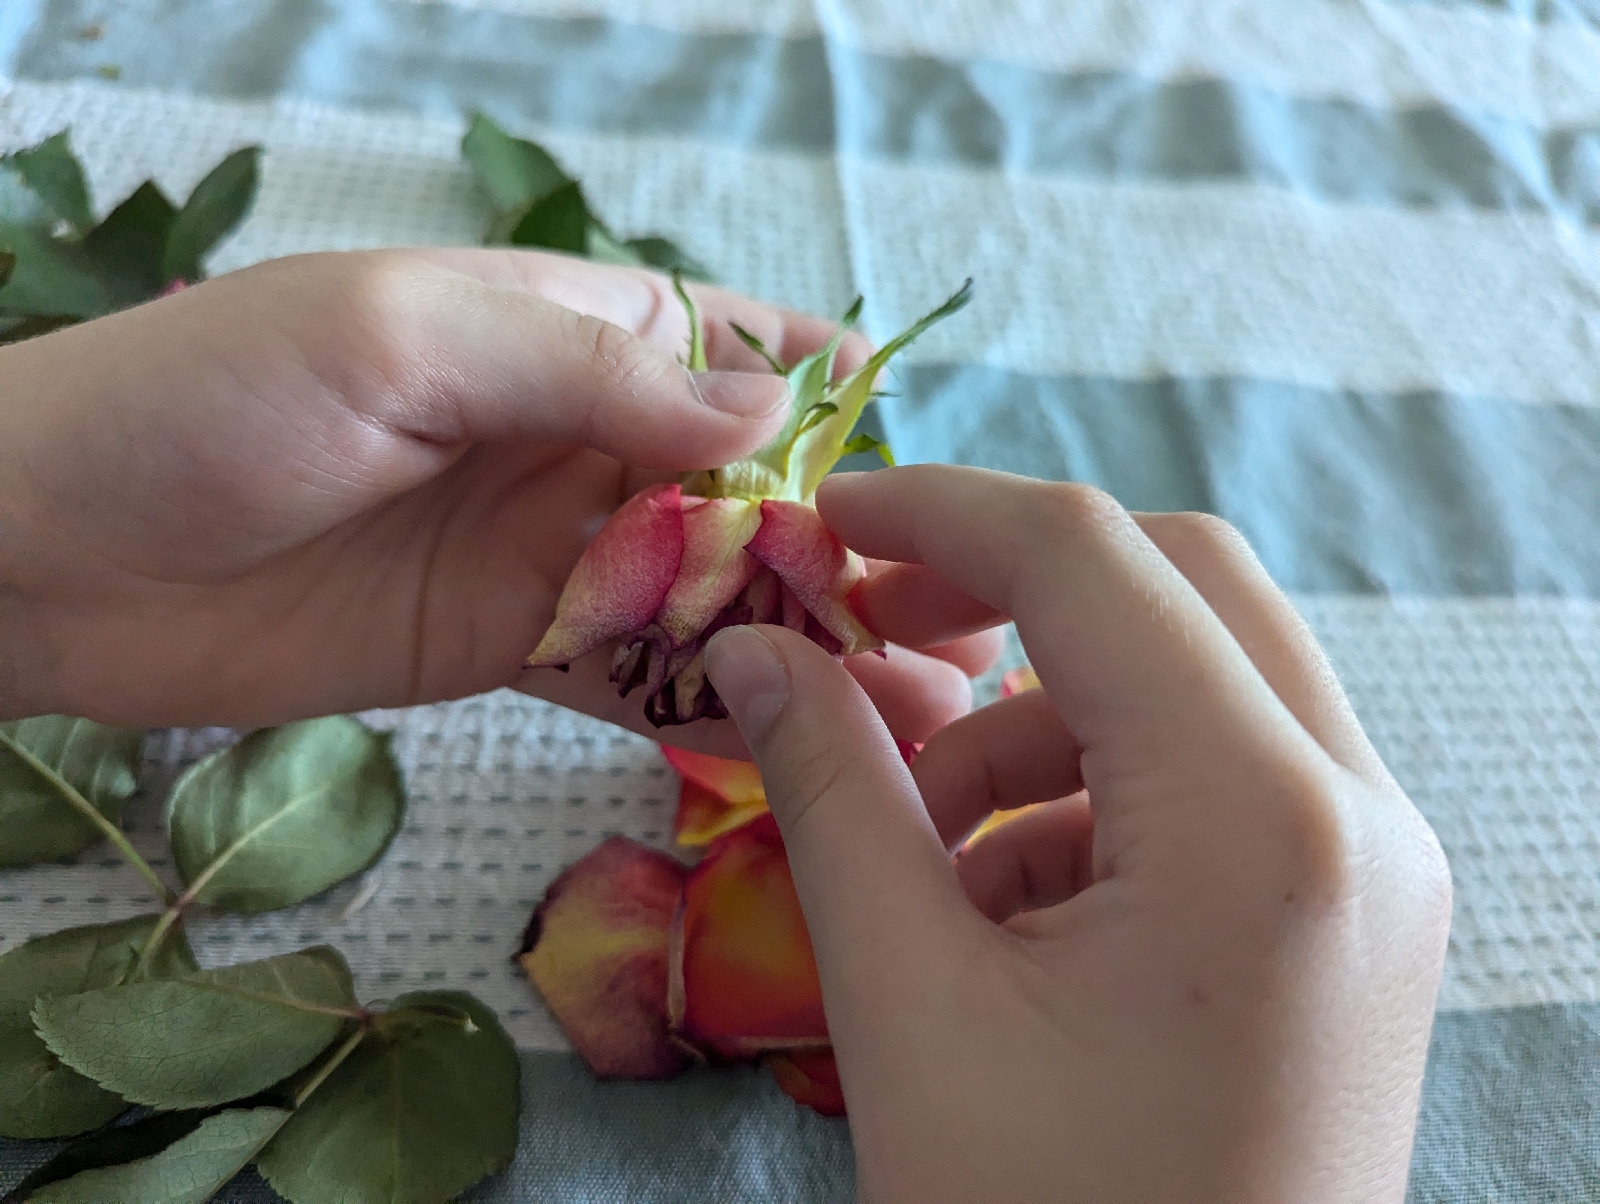
We got up close and personal with the parts of flowers by carefully dismantling a bundle of spent roses so we could lay them out to dry.

We read about roses in a couple of our books.


We practiced writing in cursive by copying a challenging sentence from our book.

We compared our rose leaves with hibiscus leaves. We spoke about leaflets. Our rose leaves were compound, each had 3 leaflets, except for one that was simple yet deeply lobed. Our hibiscus leaves were entire and not compound. Both types of leaves were serrated but the rose leaves were more pointed while the hibiscus leaf margins were occasionally less serrate than wavy.

We looked at the venation of our leaves. We noticed the petioles and petiolules. Our hibiscus leaves had no petiolules because they were simple and not compound.
We went back outside and found a miniature rose that was producing rose hips. We compared them to apples and thought about how beautiful they smell.

The process of organizing these fragrant roses was a sensory delight.
Oh, and our 11 year old trimmed off those pesky pokey prickles before her younger sisters worked with them. Roses have prickles. They're not really thorns, even though everyone calls them that. Thorns are modified branches. Prickles are epidermal outgrowths. Roses have prickles!

Thorns, spines, and prickles are explained in a fun way for older readers at this website from The Ohio State University.
#botany
#rose
#anatomy
#book
#science
 i plan to come back and add more photos. But for now I will leave you with a chalk sketch of this flower anatomy.
Rose stems and trimming practice.
Our 9 year old is learning to use pruning shears.
I showed her how I hold them, open the lock, open the shears, and snip a branch.
She held them upside down at first, and thought that her grip was great. But then when she tried trimming with it, she was unable to get through the little branch. She asked me to show her again how I hold them and how they work. I slowly walked her through the process again, showing her details like the sharp part on top coming down on the flat part of the shears. I showed her how my shears have a loop for my thumb and how it gives me extra grip. She watched intently and then was able to successfully set everything up to cut a crisp line in the stem.
We decided to cut a lot of pieces the same size and line them up to dry on our paper and rack.
In order to get each piece of the stem the correct size we used our ruler to measure and leave a mark. Most of our stems were about 12 inches long so we chose to use an inch ruler and measure 3 inches each.
Our 5 year old did most of the measuring and marking, with some assistance from her 11 year old sister. They prepared the stems for our 9 year old to trim. Our 11 year old then set them in orderly little rows to dry.
When we are drying plants we need to have good airflow around them. A metal rack and a paper liner works well for us. We used a folded spare rabbit pen on top of our dining room table as our drying base.
#botany
#lifeskills
#gardening
#kids
Measuring against a ruler
 Cutting stems with instruction, holding the shears carefully.
Sticks lined up to dry
 Can you spot a few of the knobbly hibiscus 🌺 sticks mixed in with the smooth rose 🌹 stems.
Other Plant Lessons
Do you want to explore some of our other lessons with plants?
Here are some links!

Comments
Post a Comment